How to use SentinelTag
Step-by-step guides for individuals setting up their own tags, and for organisations managing staff access across a team.
Getting started
Download the app and create your account.
Download the app
SentinelTag is available on the Google Play Store for any NFC-enabled Android device. Search for SentinelTag and install it.
iOS support is coming soon.
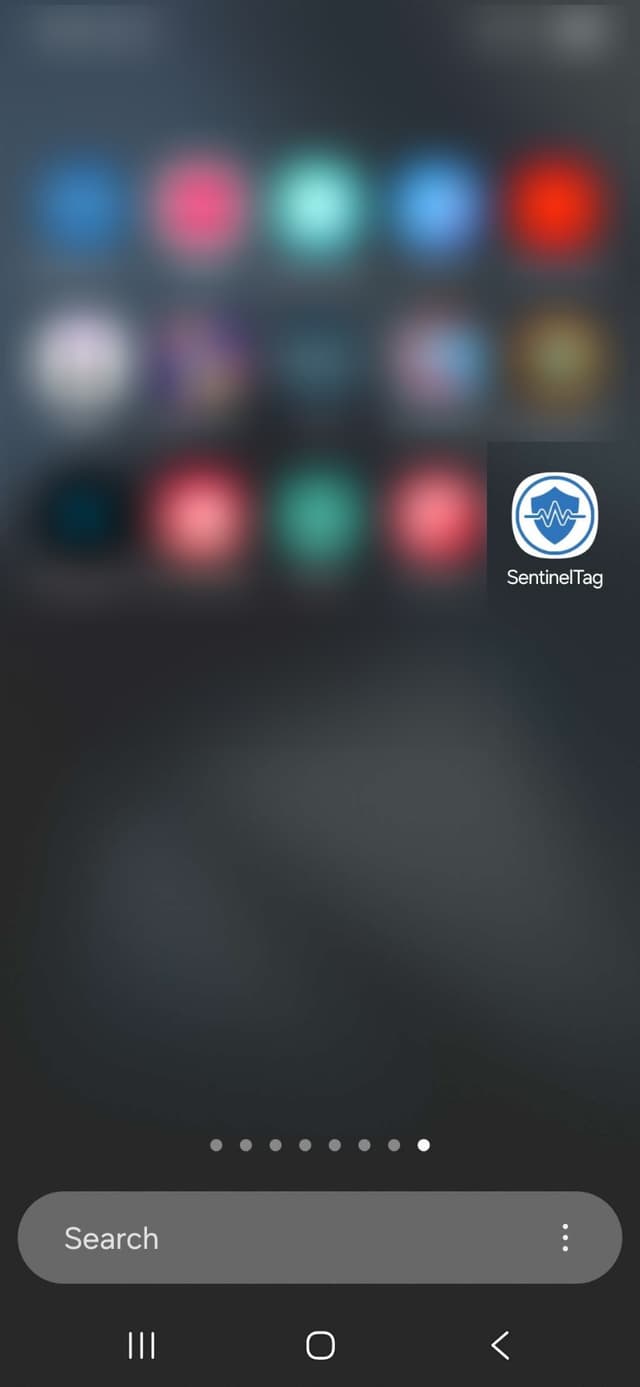
Sign in or create an account
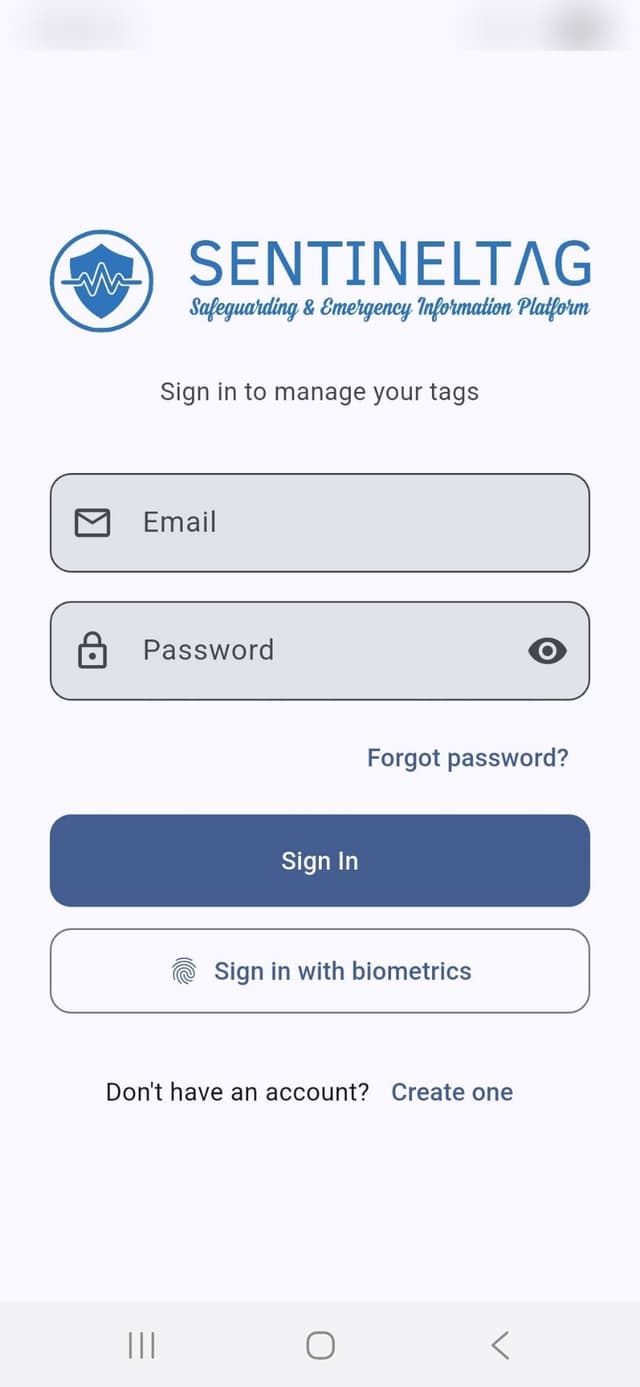
Open the app and sign in with your email address. If this is your first time, tap Create account. You will receive a verification email — confirm it before logging in. Existing users can also use biometric login (fingerprint / face) after their first sign-in.
Creating & managing tags
Register an NFC tag and fill in the person's details.
Your tags dashboard
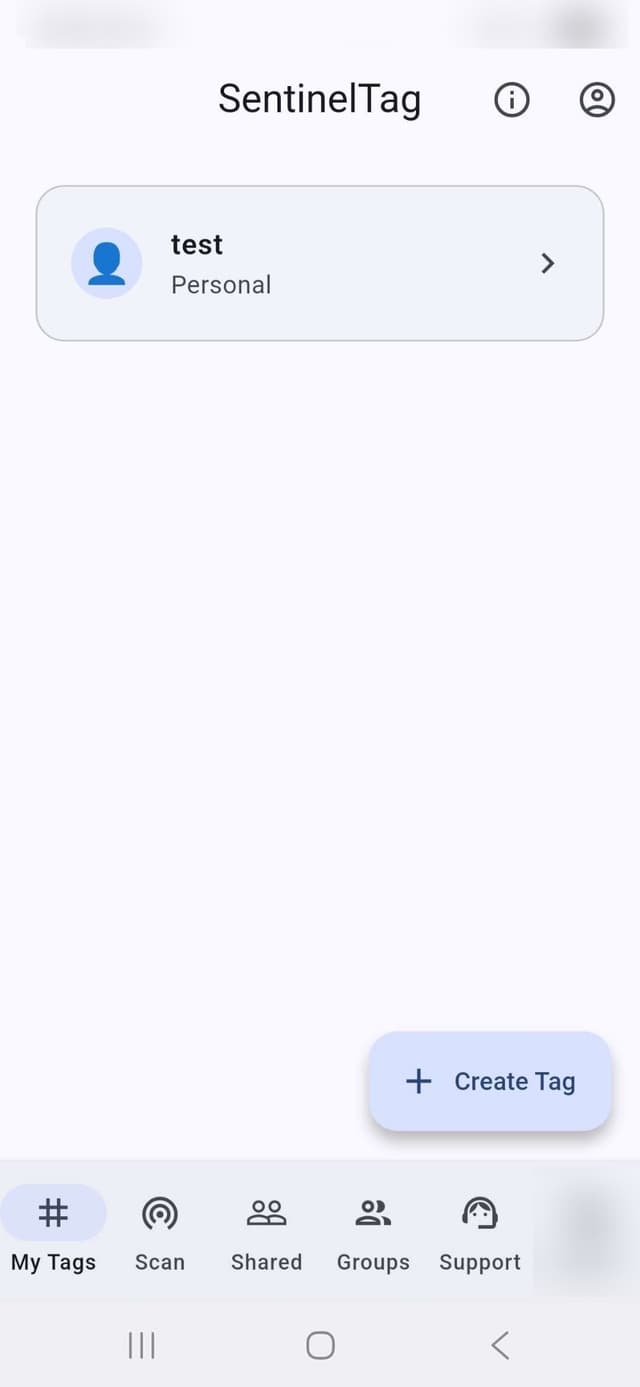
After signing in you will see your Tags list. Each card shows the tag's name, whether it is currently active, and the last scan date. Tap any tag to view or edit its details.
Register a new tag
Tap the + button, give the tag a name, then hold the phone against the NFC wristband or card when prompted. The app reads the tag's unique ID and links it to your account.
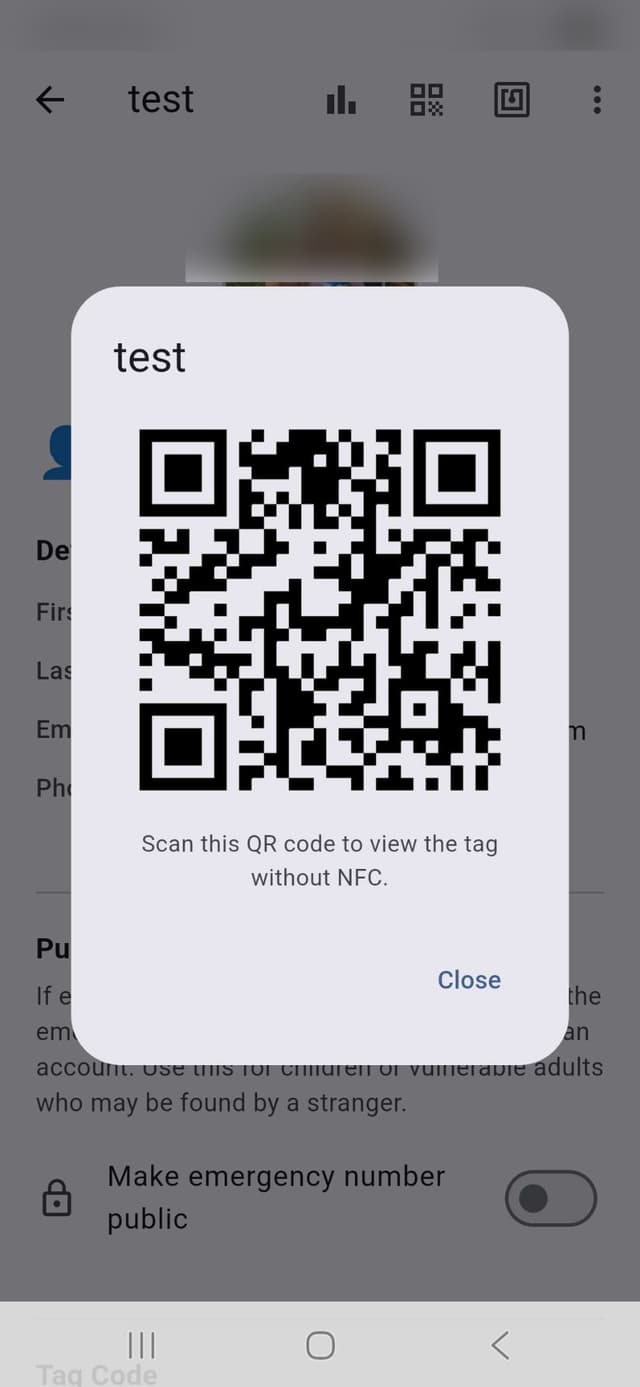
You can also generate a custom QR code if you would like a printable fallback for devices without NFC.
Fill in the person's details
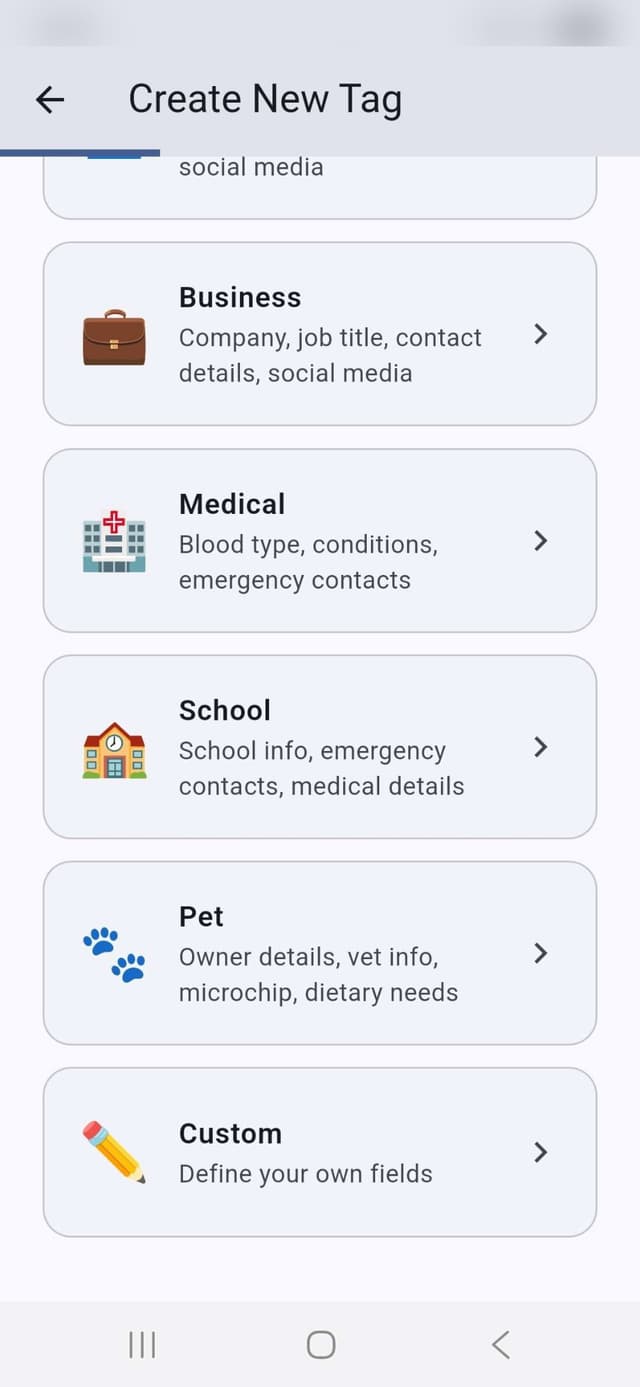
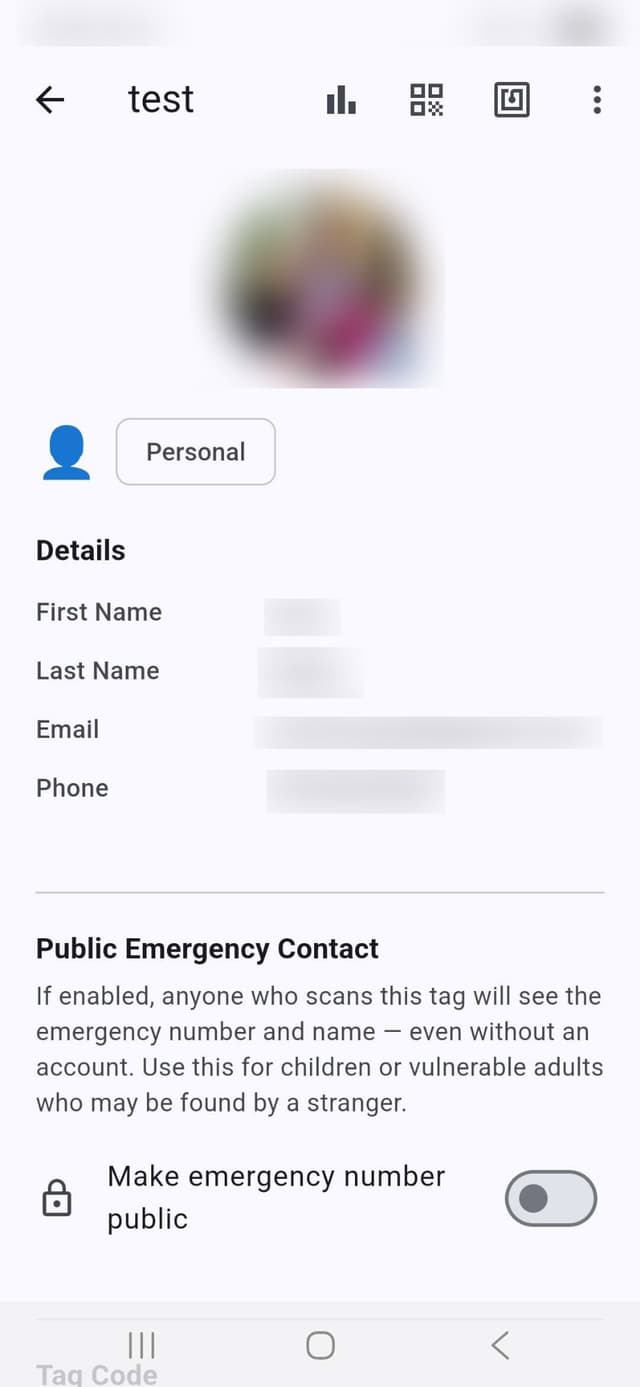
Once the tag is registered, open it and tap Edit. Select a template — in this example we've chosen Personal — then fill in the relevant details:
- Full name and photo
- Emergency contact numbers
- Medical information and known conditions
- Communication needs or behavioural notes
All data is stored securely and is only visible to people you have authorised.
Control who can access the tag
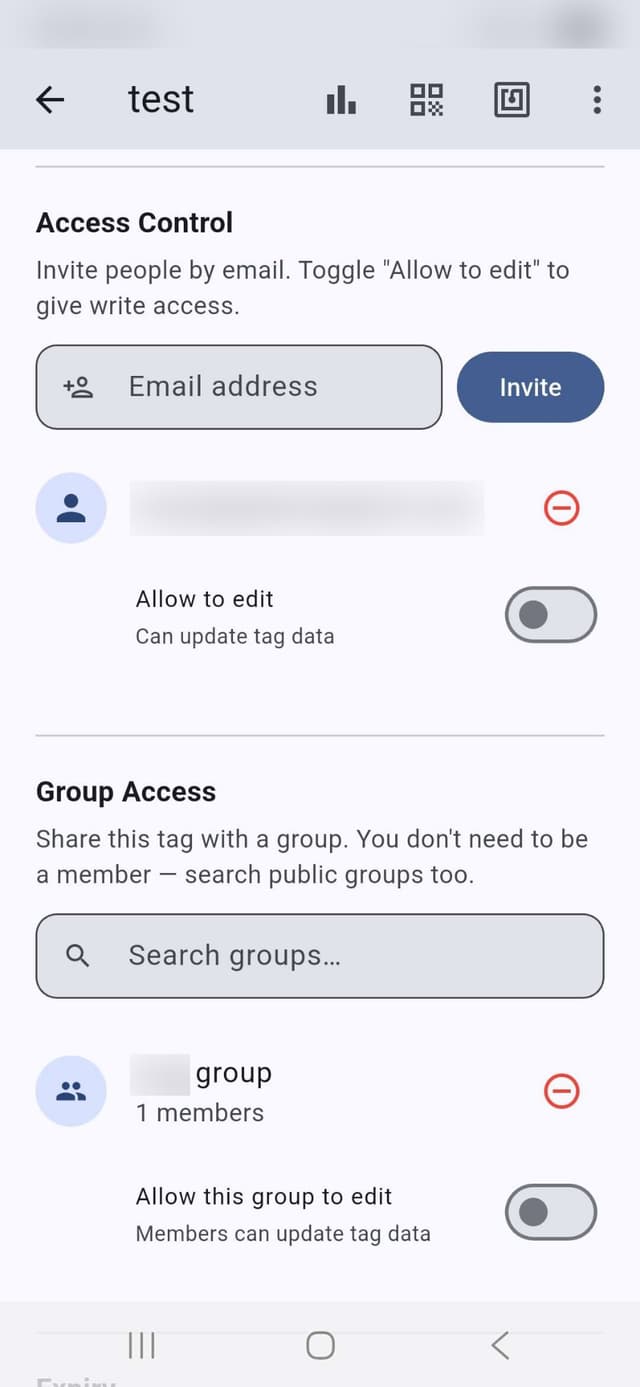
Under the Access tab you can invite specific people by email address. Each person you add can scan the tag and view the profile. You can revoke access at any time. Staff or carers who need access can also be added via a Group (see below), so you don't have to add them individually to every tag.
Groups
Share access with a whole team in one step.
Create a group
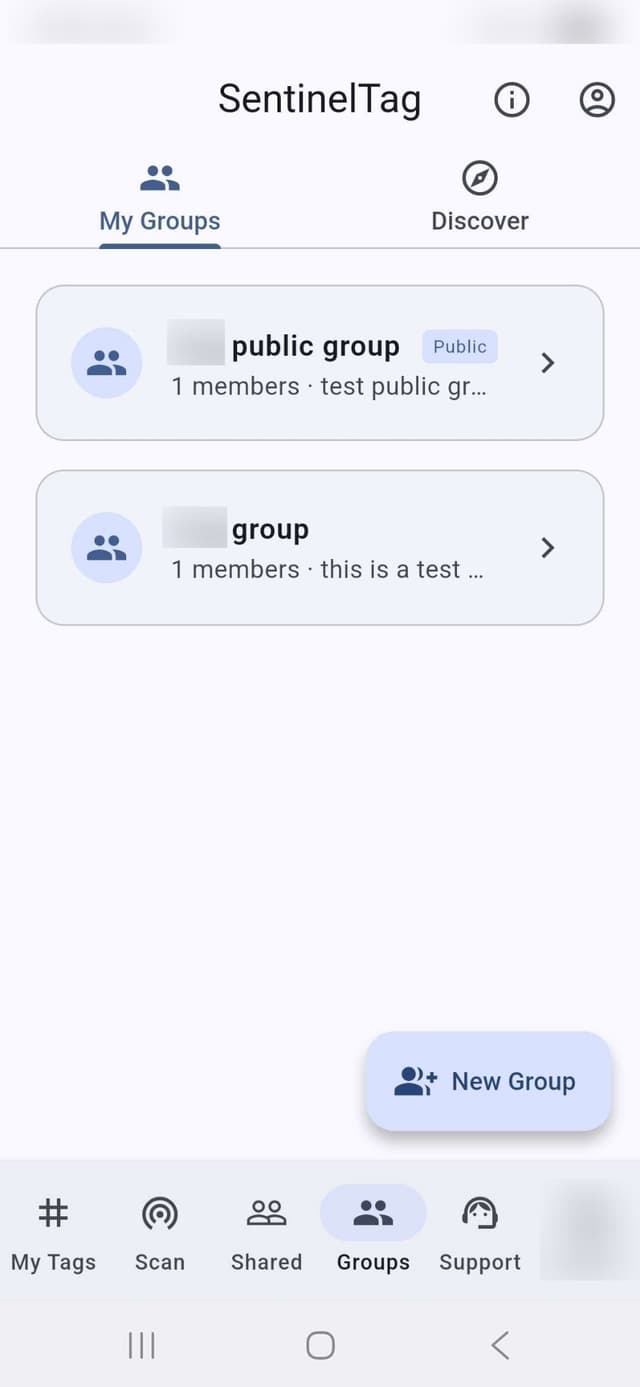
Go to the Groups tab to create a named group — for example, Year 6 Teaching Team or Day-shift Care Staff. Assign the group to one or more tags and every member of that group automatically gains access to those tags.
Manage group members
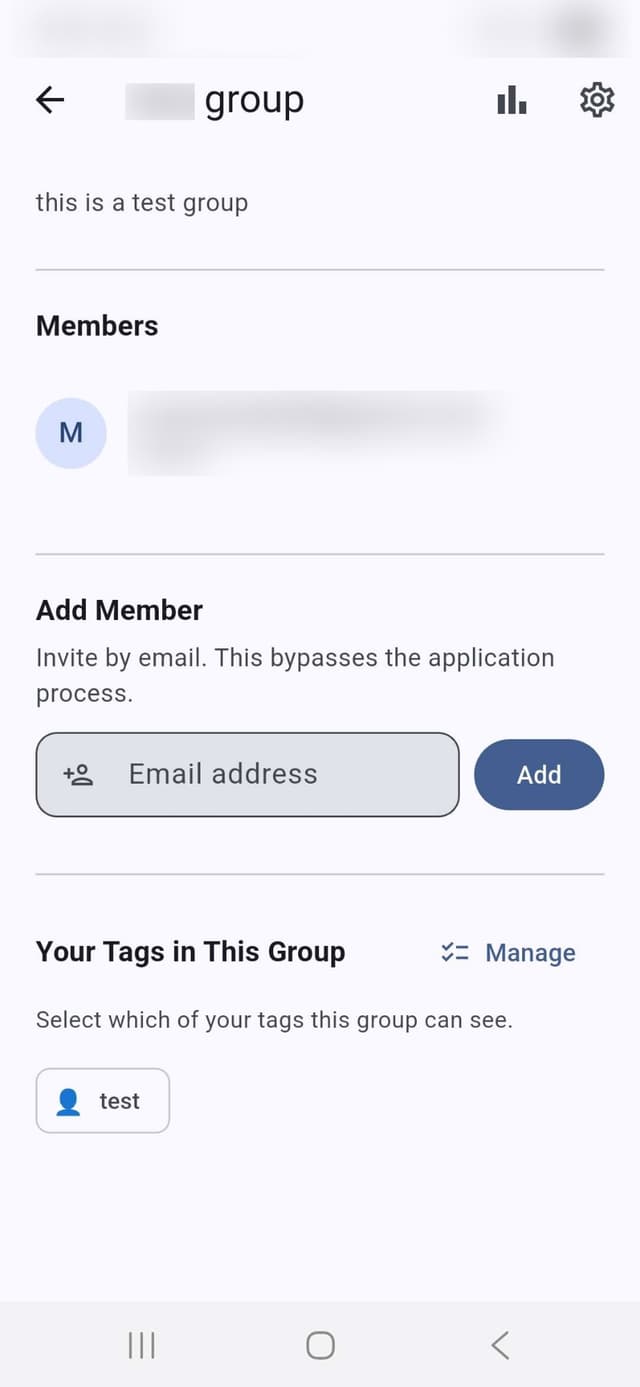
Open a group to add or remove members by email address. When a new carer joins the team, add them to the group once and they immediately get access to all the tags that group covers. When someone leaves, remove them from the group and their access is revoked everywhere.
Scanning a tag
What happens when a first responder or carer taps a tag.
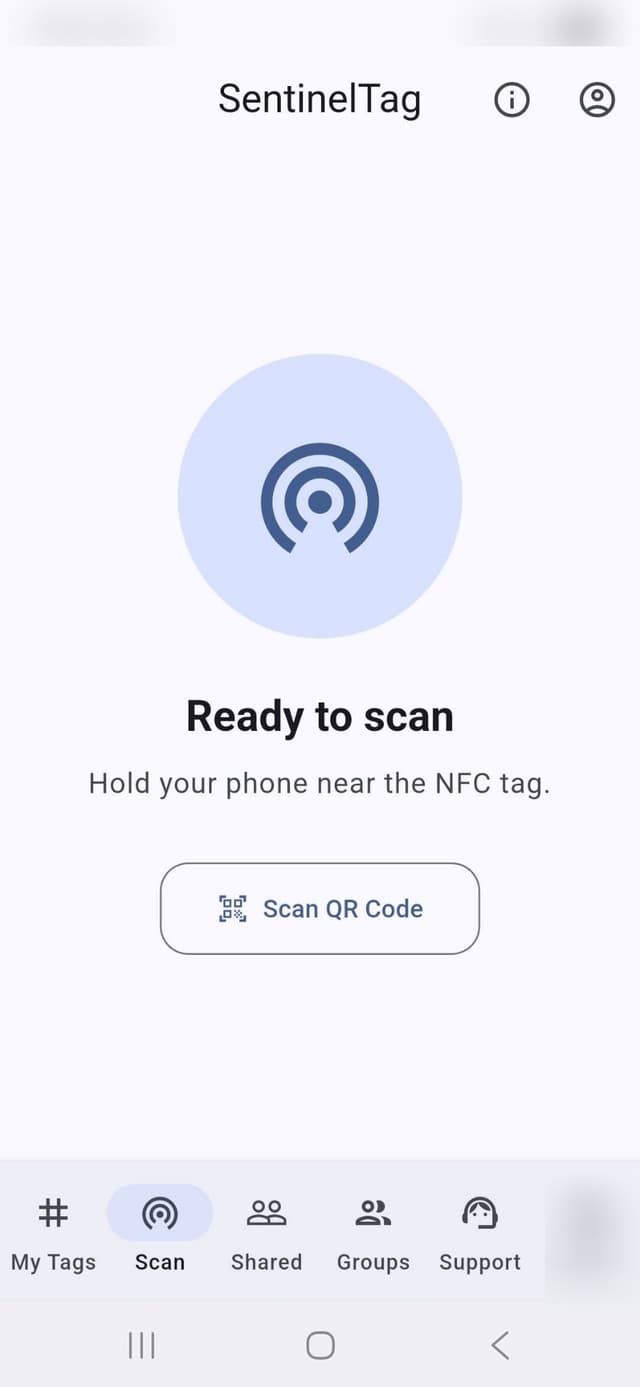
Tap the tag with any Android phone
Anyone with the SentinelTag app and a valid authorisation can hold their NFC-enabled Android phone near the wristband or card. The app instantly surfaces the relevant profile — no internet search, no phone calls required.
Unauthorised scan attempts are logged but the profile is not shown.
QR code fallback
If the scanning device doesn't support NFC, authorised users can scan the printed QR code instead. The QR code links to the same profile and the same access controls apply — unauthorised scans are blocked and logged.
Monitoring & incidents
A full audit trail of every access event and incident note.
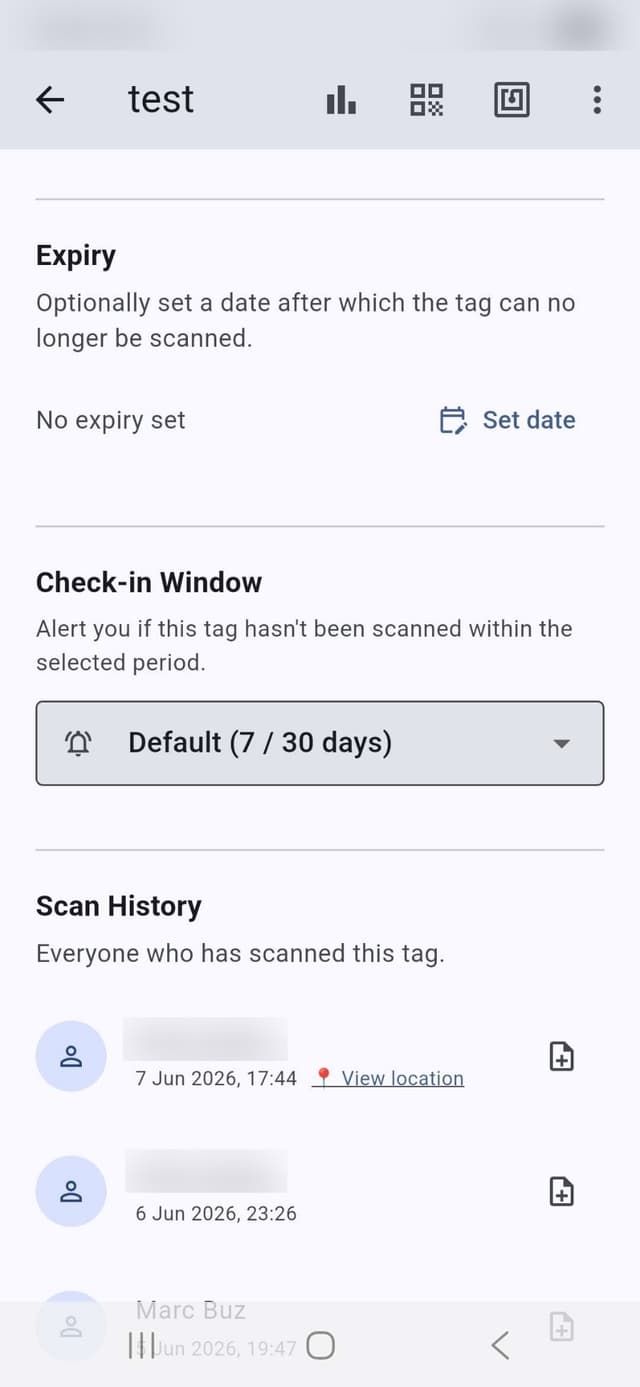
View the scan history
Every scan is automatically logged with a timestamp and the name of the person who accessed the profile. Open the History tab on any tag to see the complete audit trail. This is essential for safeguarding compliance and responding to concerns.
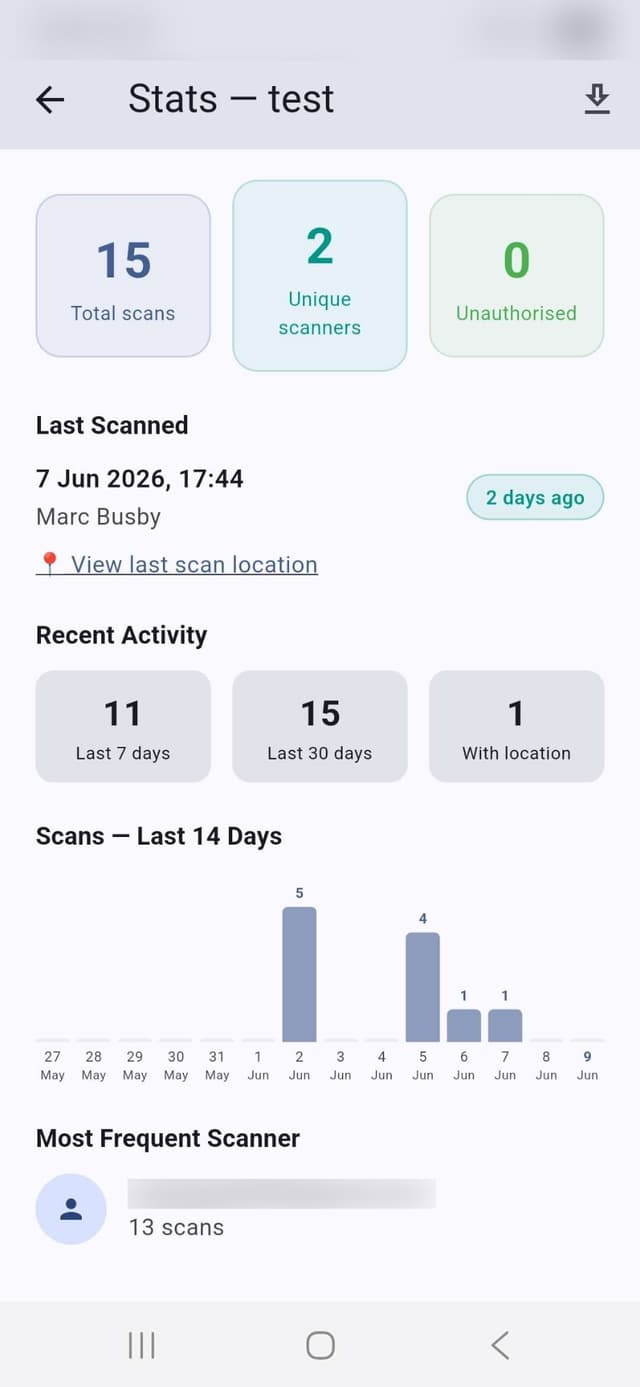
View statistics
The Stats screen summarises activity at a glance: total scans, last scanned date, and the most frequent scanner. Use this to verify that regular checks are happening and to spot any unusual access patterns.
Add an incident note
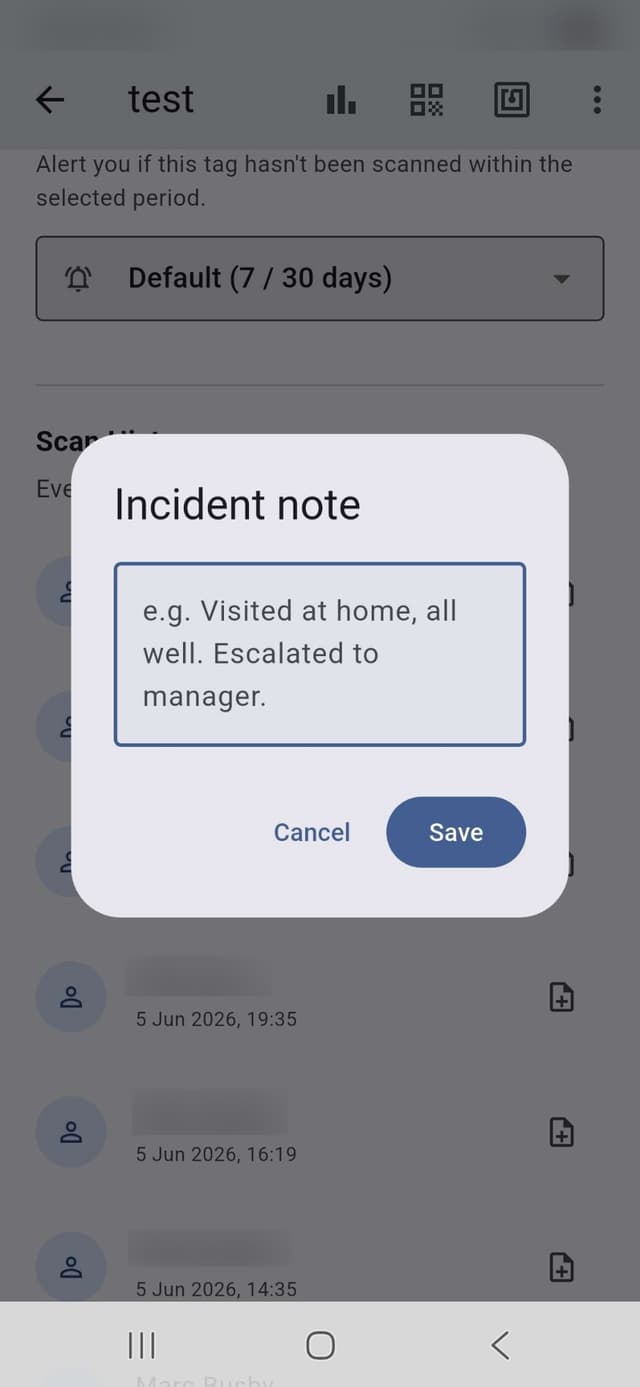
If a safeguarding concern or incident occurs, tap Report incident to attach a timestamped note to the tag's record. Notes are visible to all authorised users and are permanently stored as part of the audit trail.
Incident notes cannot be edited or deleted after submission.
Your account
Manage your profile and subscription.
Account settings
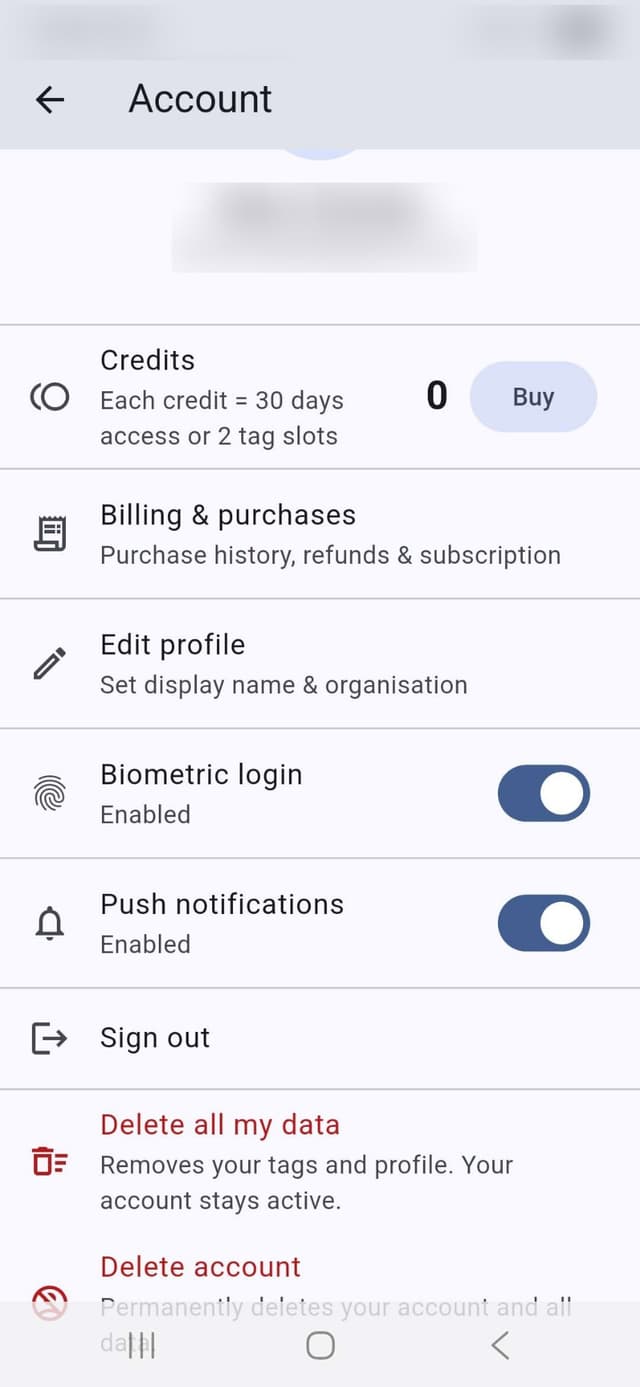
Tap Account in the top navigation to update your display name, profile photo, and email address. You can also change your password and enable or disable biometric login here. Your billing and subscription tier are managed in the Billing sub-screen.
Shared tags (incoming access)
If another account owner grants you access to their tag — for example, a parent sharing a child's profile with their school — the tag appears in your Shared tab automatically. You do not need to do anything to accept it.
Need help?
If you get stuck or have a question that isn't answered here, our support team is here to help. You can also reach us via the live chat in the app — tap Support from the main menu.